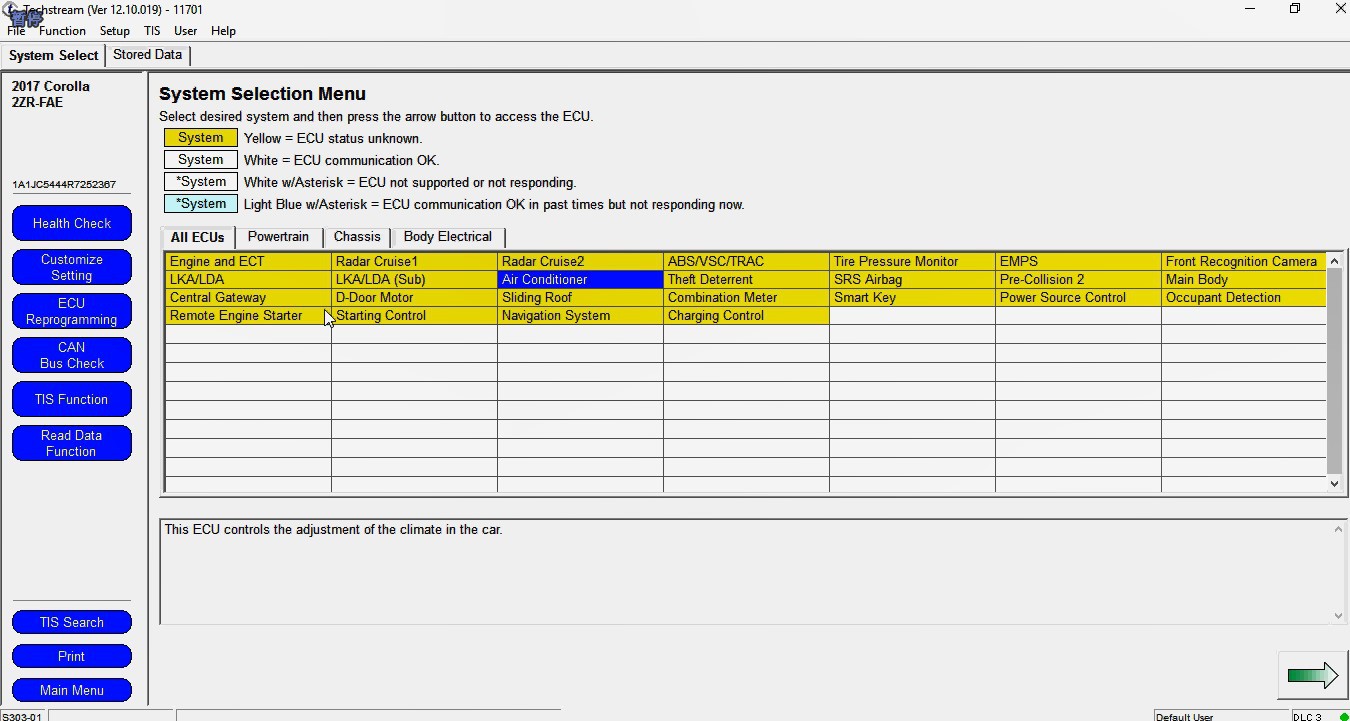
The Mini VCI J2534 Cable is the industry-standard, cost-effective diagnostic interface designed for Toyota, Lexus, and Scion vehicles. Operating with factory-level Toyota Techstream software, this hardware bridge enables full-system health checks, live parameter monitoring, active sensor testing, ECU reprogramming, and critical transmission memory resets (such as the U660E/U760E 6-speed adaptive relearn).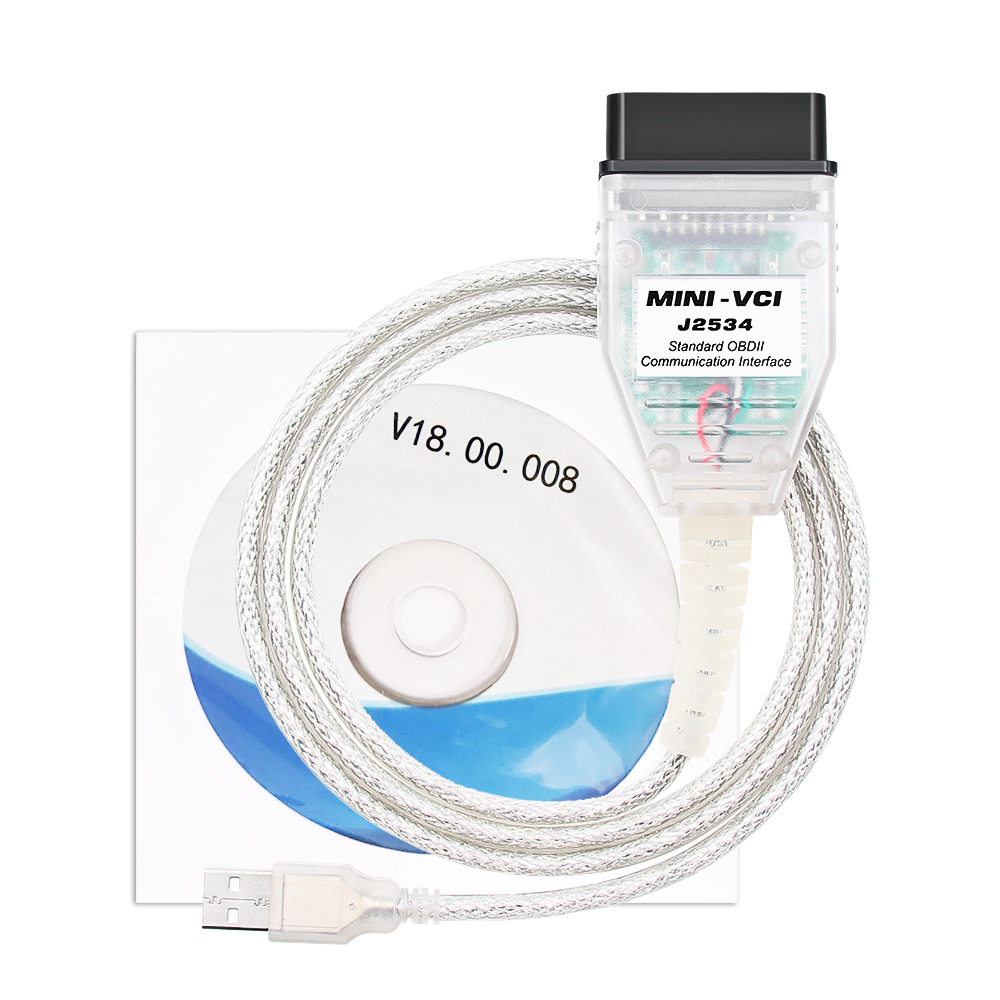
The Mini VCI is an OBD2-to-USB pass-thru interface that complies with the SAE J2534-1 and J2534-2 standard. Designed specifically for Toyota, Lexus, and Scion vehicle networks, it connects standard PC hardware to a vehicle's DLC3 (OBD-II) port, granting independent mechanics, locksmiths, and DIY repairers access to dealer-level software routines without multi-thousand-dollar equipment costs.
+------------------+         +-----------------------+         +--------------------+
|  Toyota Techstream| <=====> |  Mini VCI J2534 Cable | <=====> | Vehicle DLC3 Port  |
|  PC Software     |  (USB)  |  (FTDI + ARM/MCU)     |  (OBD2) | (ECM / TCM / BCM)  |
+------------------+         +-----------------------+         +--------------------+
CAN Bus (ISO 11898 / ISO 15765-4)
K-Line (ISO 9141-2 / ISO 14230-4 KWP2000)
J1850 VPW & PWM (Legacy Toyota/Lexus protocols)
When sourcing Mini VCI cables from China, understanding the internal PCBA architecture is vital. Diagnostic performance and protocol coverage depend on the board design and firmware version:
| Technical Feature | Mini VCI Firmware v1.4.1 | Mini VCI Firmware v2.0.4 (Upgraded) |
| Primary Chipset | FTDI FT232RL / Standard MCU | Genuine FTDI FT232RQ + ARM High-Speed CPU |
| K-Line Support | Single K-Line (Limited legacy support) | Dual K-Line (Full 1996–present coverage) |
| CAN Bus Speed | Standard (500 kbps) | High-Speed CAN & Low-Speed CAN support |
| Protocol Stability | Basic DTC reading & Live Data | Full Active Tests, ECU Reprogramming, Calibration |
| Techstream Compatibility | V10.x to V18.x | V10.x through V20.x+ (Latest Versions) |
| K-Line Pin Switching | Manual / Software Simulated | Automatic Hardware Multiplexing |
Manufacturer Insight: For workshops performing complex functions—such as A/T Code Reset, Solenoid Initialization, or Smart Key Addition—the v2.0.4 Dual K-Line PCBA is strongly recommended to prevent bus timeout errors during critical ECU flash writes.
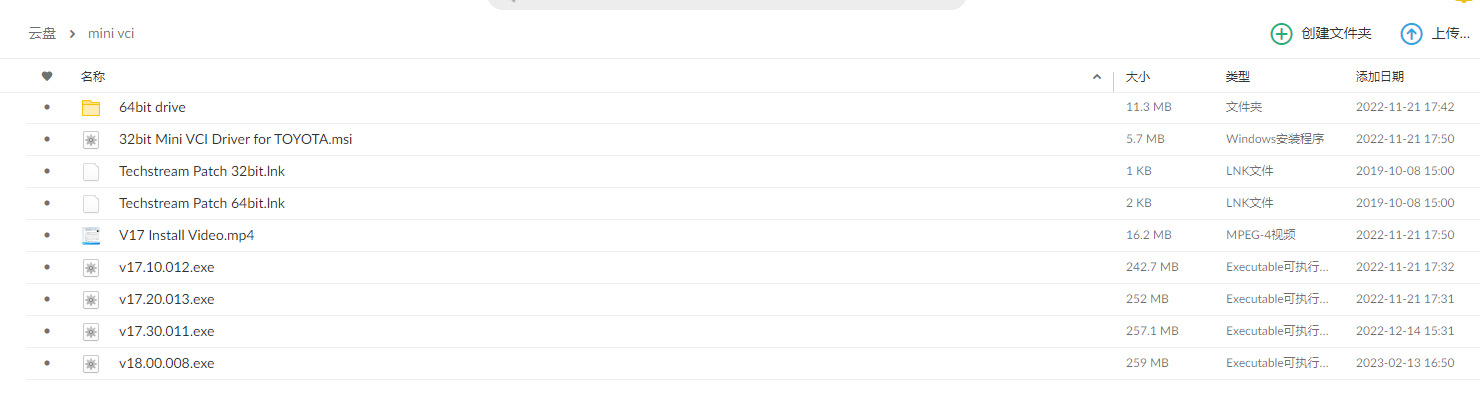
A common challenge technicians face is installing legacy 32-bit Mini VCI drivers on modern 64-bit Windows operating systems. Follow this registry-based installation procedure:
Disable Antivirus real-time protection temporarily (to prevent false positives on diagnostic loader utilities).
Install Toyota Techstream software (e.g., V18.00.008 or newer).
Do not plug the Mini VCI cable into the computer until instructed.
Create Directory Structure:
Create a folder named C:\Program Files (x86)\XHorse Protocol Converter\Mini-VCI Driver for TOYOTA TIS.
Copy Driver Files:
Extract the FTDI driver files (ftdibus.sys, ftdiport.sys, and associated .dll files) into this folder.
Register 64-Bit Registry Keys:
Create a registry file (mvci_64.reg) containing the following paths to map the 32-bit J2534 DLL inside the 64-bit Windows environment:
Run the .reg File: Double-click the file and accept the security prompt to register the device.
Connect Hardware: Plug the Mini VCI USB cable into a USB 2.0 port. Open Windows Device Manager and verify under Ports (COM & LPT) that FTDI USB Serial Converter appears without error warnings.
Configure Techstream:
Open Techstream.
Navigate to Setup $\rightarrow$ VCI Select.
Select XHorse - MVCI Master Interface from the drop-down menu and press OK.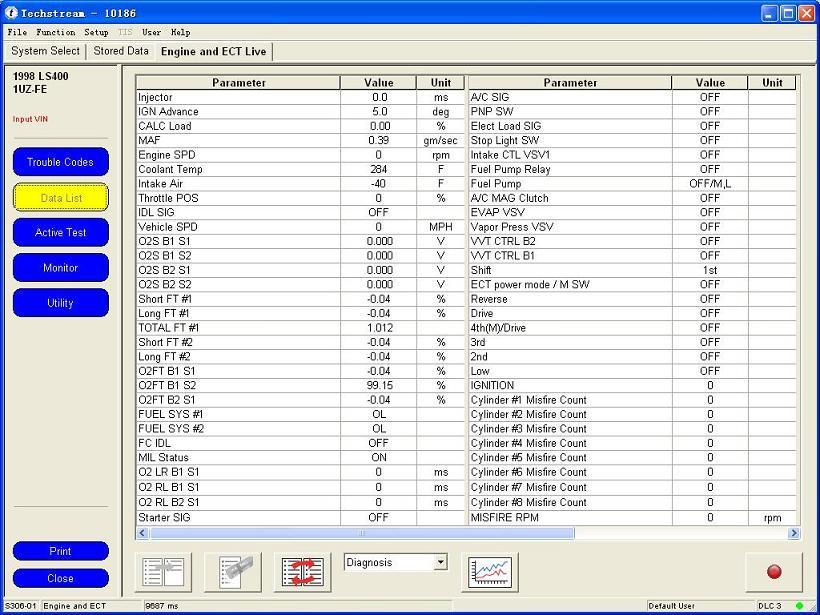
After servicing a Toyota transmission (e.g., fluid flush, valve body replacement, or solenoid service on a 2014 Toyota Highlander U660E), clearing the learned shift parameters is critical to prevent flare shifts or harsh engagement.
+--------------------------------------------------------------------------------+
|                        TOYOTA U660E TCM RESET WORKFLOW                         |
+--------------------------------------------------------------------------------+
| 1. Scan Tool Connection  --> Connect Mini VCI to DLC3, Key ON / Engine OFF.   |
| 2. Techstream Navigation --> Powertrain > Engine & ECT > Utility > Reset Memory|
| 3. Ignition Power Cycle  --> Key OFF for 30 Seconds to lock non-volatile RAM.  |
| 4. Fluid Thermal Warm-Up --> Idling until ATF reaches 122°F - 176°F (50°-80°C)|
| 5. Relearn Drive Cycle   --> Light throttle (15-20%) accelerations 1-6 gear.   |
+--------------------------------------------------------------------------------+
Establish Communication: Connect the Mini VCI interface to the vehicle's DLC3 port. Turn the ignition switch to ON (Engine OFF).
Access Module Utility:
Select Powertrain $\rightarrow$ Engine and ECT $\rightarrow$ Utility.
Click Reset Memory to clear historical hydraulic shift pressure adaptations stored in ECM/TCM EEPROM.
Optional Compensation Code Entry: If replacing the physical valve body, select A/T Code Reset and input the 60-character transaxle compensation code found on the housing QR label.
ECM Power Down: Turn the ignition OFF, wait 30 seconds for the ECM main relay to power down fully, then turn the ignition back ON.
Execute Adaptation Drive Cycle:
Ensure ATF temperature reaches $122^\circ\text{F} - 176^\circ\text{F}$ ($50^\circ\text{C} - 80^\circ\text{C}$) via Live Data.
Accelerate smoothly from a complete stop up to 55 mph under light throttle (15–20% pedal opening), allowing gears 1 through 6 to shift sequentially.
Coast down to a complete stop without aggressive braking. Repeat 5 to 8 times.
| Error Code / Symptom | Root Cause | Technical Solution |
| "Unable to connect to VCI" | Corrupted FTDI drivers or wrong registry path. | Re-run registry file; check Device Manager for COM port assignment. |
| "Communication Error with Vehicle" | Firmware v1.4.1 used on legacy K-Line model. | Upgrade to Mini VCI Firmware v2.0.4 with dual K-Line hardware support. |
| Software Freeze During Active Test | Low voltage or cheap FTDI counterfeit chip. | Maintain battery voltage above 13.0V; use genuine FT232RQ interface hardware. |
| Lost Connection During ECU Flashing | Windows power saving active on USB hub. | Disable "Allow computer to turn off this device to save power" in Device Manager USB Root Hub properties. |
As an established Chinese supplier and manufacturer of automotive diagnostic equipment, we produce high-grade Mini VCI cables engineered to meet international J2534 standards:
Quality Assurance: Every PCB undergoes automated SMT assembly, FTDI chip verification, and physical vehicle bench testing before dispatch.
OEM / ODM Services: We provide custom casing, logo printing, specialized driver packages, and custom packaging for global distributors and shop brands.
Global Logistics & Support: Direct factory pricing with stock maintained in local warehouses (including China and US distribution centers) for fast fulfillment.
Yes. With Techstream software V15 or higher and a v2.0.4 Mini VCI cable, you can perform immobilizer reset and key registration via Body Electrical $\rightarrow$ Smart Code Reset.
No. Modern Toyota ECM/TCM modules store adaptive shift parameters in non-volatile flash memory. A battery disconnect only resets engine fuel trims and power windows. A bi-directional J2534 tool like Mini VCI is required for a complete TCM reset.
Yes. Because Mini VCI uses standard J2534 DLLs, it can operate with other pass-thru software applications including Forscan (for Ford J2534 basic routines), Honda HDS, and generic OBD2 scan tools.
For wholesale pricing, OEM branding inquiries, or technical support regarding Mini VCI diagnostic interfaces, contact our technical sales team xia Kelly@cartooldeal.com .